Kilimanjaro Hiking Boots
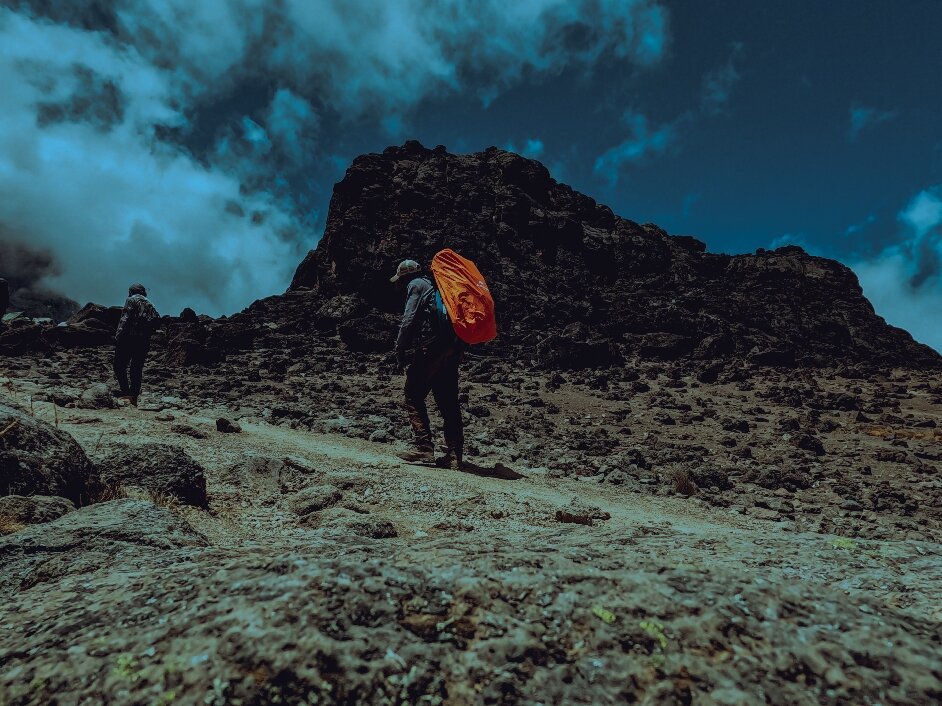
Boots for Kilimanjaro should be mid weight waterproof trekking boots with ankle support, bought half a size to a full size larger than your normal shoe, and broken in over at least 50 kilometres before you fly. Insulated mountaineering boots are not required on the standard trekking routes. Kilimanjaro crosses mud, rock and scree on the way to 5,895 metres in northern Tanzania.
What Kind of Boots a Kilimanjaro Climbing Trek Needs
Boots are the one piece of kit on a Kilimanjaro trek that genuinely cannot be improvised, rented sensibly or worked around. Everything else on the mountain has a substitute. Feet do not, and the rest of what goes in the duffel is far more forgiving of a last minute decision.
What you want is a mid weight waterproof trekking boot with a supportive ankle cuff and a stiff enough sole to handle loose rock without transmitting every stone into your arch. Leather or a leather and fabric mix, with a waterproof membrane.
What you do not need is a double layered insulated mountaineering boot. Those are built for technical peaks and crampons, and on Kilimanjaro they are heavy, hot for the first four days and unnecessary. The standard routes involve no ice climbing and no crampon work.
You also do not want trail runners or low cut approach shoes. The scree descent from the summit rolls ankles, and the mud in the forest zone swallows anything without a cuff. Ground conditions are a genuine part of what makes the trek demanding, even though none of it is technical.
If you are choosing between spending money on boots or on almost anything else on your kit list, buy the boots. A blister on day two of a seven day trek does not heal on the mountain, and it changes your gait, which then affects your knees on the descent.
Boot Sizing for a Kilimanjaro Trek
Buy larger than you normally would, usually half a size up and sometimes a full size. Two things drive that.
Your feet swell over consecutive days of walking, and they swell more at altitude, which is one of the milder things thin air does to you compared with the symptoms that end climbs. Boots that fit perfectly in a shop at sea level can feel tight by day four at 4,000 metres.
You will also be wearing thicker socks than you tried them on with, and on summit night possibly two pairs. That takes up real volume inside the boot.
The test that matters: with the boot unlaced, slide your foot forward until your toes touch the front. You should be able to fit a finger behind your heel. Then lace up properly and walk downhill, on a slope or a staircase, and your toes should not hit the front. Toes striking the toe box on a descent produces bruised nails and is one of the most common complaints on the way down from the summit at Uhuru Peak.
Try boots on in the afternoon rather than the morning, when your feet are already slightly swollen, and wear your intended socks to the shop.
Breaking In Boots Before Your Kilimanjaro Climb
This is the step people skip and regret. Aim for at least 50 kilometres in your boots before you fly, and more if the boots are stiff leather.
Start with short walks on flat ground and build up. Get them onto uneven terrain, up and down hills, and out in the rain so you know whether the waterproofing works. Wear them for your long training walks with a loaded daypack, since the way a boot behaves under weight is different from how it feels empty. Folding those walks into a week by week training plan gets the 50 kilometres done without it becoming a separate chore.
The point is not only softening the leather. It is discovering where your particular foot rubs, so you can address it at home with different lacing, a thin insole or better socks rather than at 4,000 metres with a roll of tape.
If a pair still hurts after 50 kilometres, they are the wrong boots. That is a frustrating discovery and it is far better made eight weeks out than on day one at Machame Gate. It is also the most avoidable problem first time trekkers bring with them.
Socks and Sock Layering for Kilimanjaro Trekking
Socks are half of the boot system and get a fraction of the attention.
Bring four to six pairs of proper hiking socks in merino or synthetic, plus one thick warm pair kept strictly for sleeping and never walked in. No cotton, which holds sweat and causes blisters.
Mid weight cushioned socks suit the lower and middle days. For summit night, either a thicker mountaineering weight sock or a thin liner under a warmer pair, depending on the room in your boots. Test both combinations during training, because a two sock system that works in a boot with space will cause problems in one that is already snug. Socks sit at the bottom of the same layering logic that governs everything else you put on.
Change socks partway through a long day if your feet get wet, and dry the damp pair on your pack or in your sleeping bag overnight. Damp socks are the mechanism by which most blisters happen.
Gaiters and Boot Accessories for a Kilimanjaro Trek
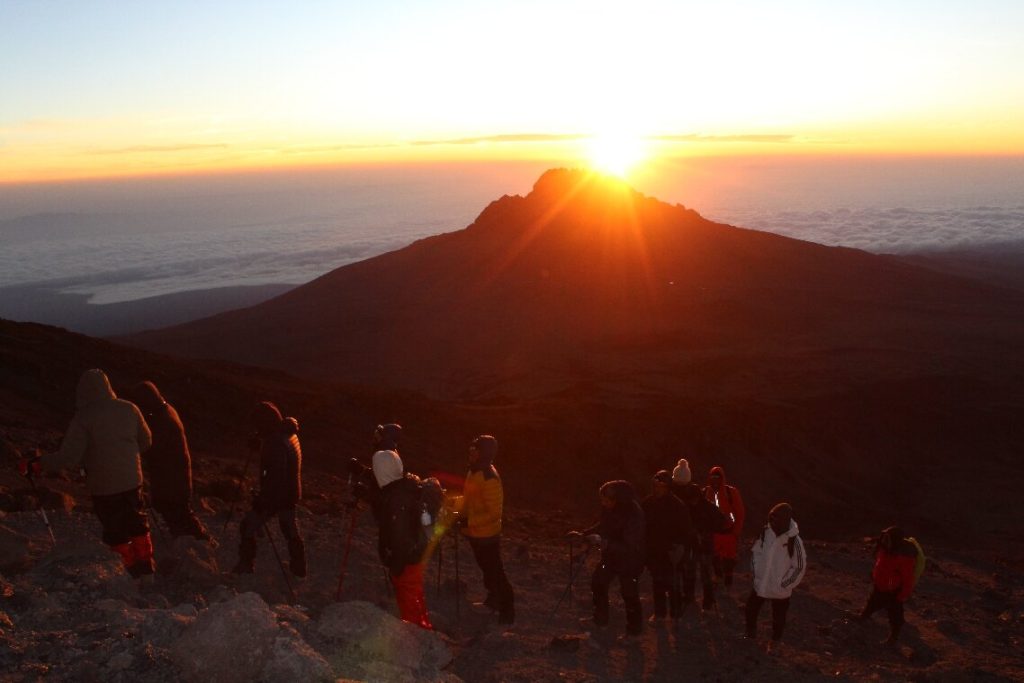
Gaiters earn their place twice. In the forest they keep mud off your socks and out of the boot cuff. On the summit push and the descent they stop scree and volcanic grit pouring in over the top, which above 4,500 metres is a constant.
Lightweight walking gaiters are sufficient; expedition gaiters are overkill. Check they fit over your actual boots before you fly.
Other useful items: spare laces, which weigh nothing and matter if one snaps at 4,600 metres. Blister plasters and zinc oxide tape in your daypack rather than your duffel, since a hotspot needs treating the moment you feel it. A pair of light camp shoes or trainers, which is one of the real pleasures of arriving at camp. And a small brush or cloth for knocking mud off, mostly so you are not putting caked boots back on in the morning.
Boot Care During a Kilimanjaro Climbing Trek
Simple habits keep boots working through a week of mud, dust and freezing nights.
Knock off the worst mud each evening rather than letting it dry hard. Loosen the laces fully and open the boots up so any moisture inside can escape overnight. Do not dry wet boots against a heat source, since that cracks leather and can delaminate a membrane, and in any case there is no heat source on the mountain.
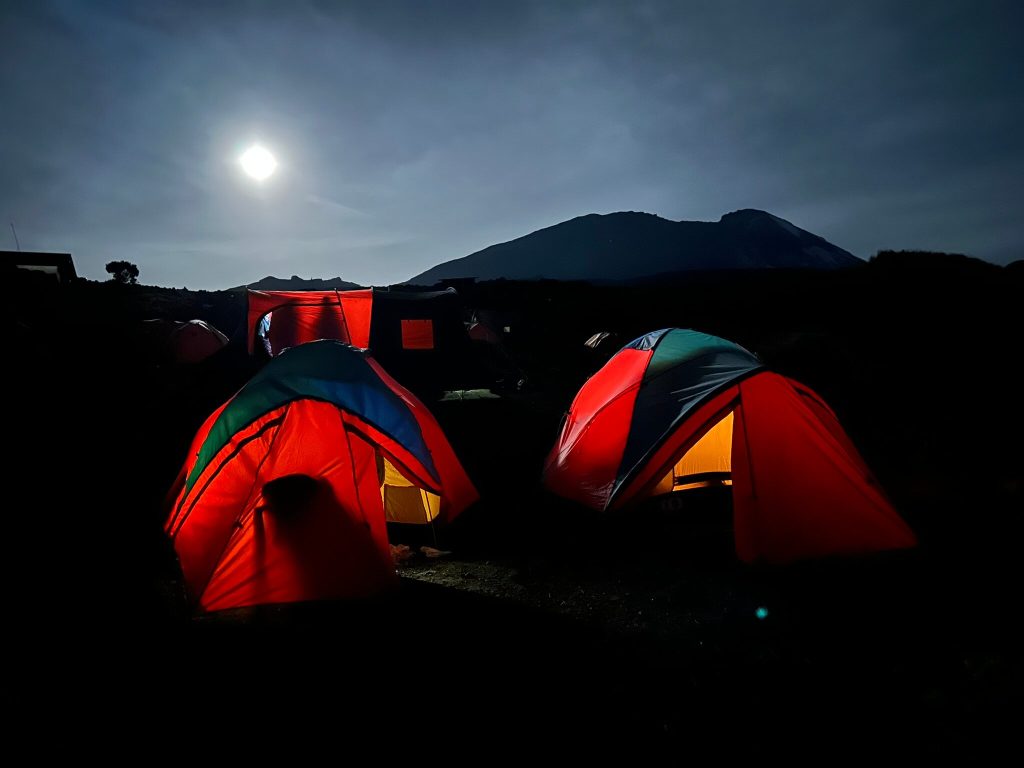
At the high camps, boots left outside the tent freeze. Bring them into the tent porch or vestibule overnight, or you will be forcing your feet into stiff frozen leather at midnight before summit night, which is a poor way to start the hardest twelve hours of the week.
Some trekkers put their boot liners or insoles inside the sleeping bag to keep them dry and warm. It is fiddly and it works.
Guides can manage altitude sickness, a poor appetite and a broken night’s sleep. What they cannot fix is a client whose boots were bought the week before departure, and they can usually tell by the second afternoon.
Choosing Boots for Different Kilimanjaro Trekking Routes
Machame and Umbwe. The wettest forest sections on the mountain plus a steep ridge on Umbwe. Prioritise waterproofing and a supportive cuff, and take gaiters for the mud.
Lemosho and Northern Circuit. Long itineraries of eight or nine days, so comfort over consecutive days matters more than anything. A well broken in boot beats a stiffer newer one here.
Marangu. Wide, well maintained trail and the same path down. Gentlest ground on the mountain, though the 20 kilometre final descent still asks a lot of your toes.
Rongai. Driest trail on the mountain, so waterproofing is less tested, but the saddle crossing and the summit scree still need a stiff sole and gaiters.
Barranco Wall routes. Machame, Lemosho, Shira and Umbwe all scramble the wall. A boot with a defined edge and decent grip helps; anything with a worn sole does not.
Every route. The descent from the summit drops nearly 2,800 metres in a day on scree. Toe room and a firm heel hold matter on all seven trails.
Common Boot Mistakes on a Kilimanjaro Trek
Buying new boots in the final fortnight, which is the mistake that produces the most misery. Buying true to size, then discovering by day four that swollen feet need the space you did not leave.
Packing boots in checked luggage. If the bag is delayed you can rent a sleeping bag, a jacket and poles in Moshi within an hour, and you cannot rent boots that fit your feet and are already broken in. Carry them on the plane.
Choosing heavy insulated mountaineering boots on the assumption that higher means colder feet. You will overheat in the forest and carry unnecessary weight for four days. A mid weight boot with two pairs of socks handles summit night on the standard routes.
Ignoring a hotspot. A rub that feels minor at the morning stop is a blister by lunch. Stop, tape it, and carry on. Your guide would far rather lose ten minutes than have you limping on day five.
Frequently Asked Questions About Kilimanjaro Hiking Boots
How much should I spend on Kilimanjaro boots?
A suitable mid weight waterproof trekking boot generally costs $150 to $250, with premium models running to $350. Below roughly $120 you tend to lose either the waterproof membrane or the sole stiffness that the scree demands. This is the item on your kit list where the money is best spent, since boots cannot be rented usefully and a poor pair affects every day of the trek.
Can I rent boots in Moshi?
Boots are sometimes available for rent at $20 to $40 for a trek, and it is a poor idea except as an emergency fallback. Rental boots are not broken in to your feet, sizing is limited, and hygiene varies. Sleeping bags, down jackets, poles and gaiters are all sensible rentals; boots and base layers should be your own.
How much bigger should my boots be?
Half a size to a full size larger than your usual shoe. Feet swell across consecutive walking days and swell further at altitude, and you will be wearing thicker socks than you tried them on with. Check by sliding your foot forward until the toes touch: you should fit a finger behind the heel. Then walk downhill and confirm your toes do not strike the front.
Do I need insulated or mountaineering boots?
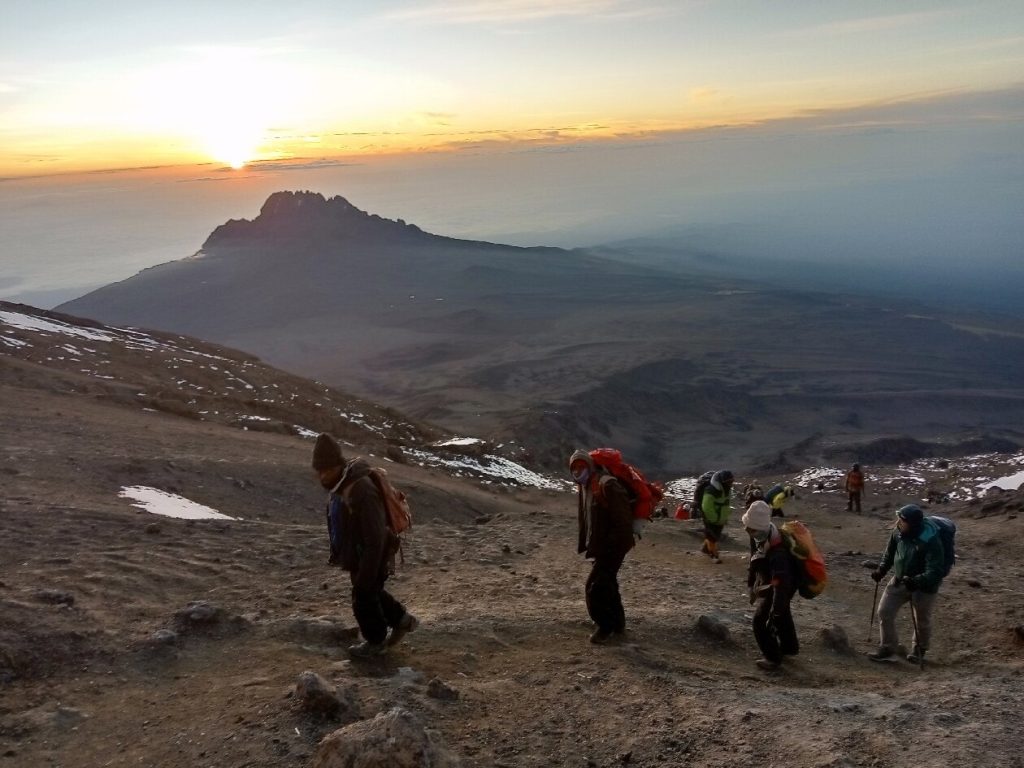
No, not on the standard trekking routes. A mid weight waterproof trekking boot with two pairs of socks and gaiters handles summit night temperatures of minus seven to minus twenty degrees Celsius. Double layered mountaineering boots are only relevant for technical variants such as the Western Breach, and they are hot and heavy for the four days below the alpine desert.
How long does breaking in boots take?
At least 50 kilometres of walking, spread over several weeks, and more for stiff leather. Fold that into your training plan by wearing them on every practice walk, including the long ones with a loaded daypack, and get them wet at least once. If they still cause pain after 50 kilometres, change boots rather than hoping the mountain will soften them.
What socks work best with Kilimanjaro boots?
Four to six pairs of merino or synthetic hiking socks, mid weight and cushioned, plus one thick pair kept only for sleeping. For summit night use either a mountaineering weight sock or a thin liner under a warmer pair, whichever your boot has room for. Test the combination during training. No cotton at any point, since it holds moisture and causes blisters.
Booking Your Kilimanjaro Trip
The safari companies and tour operators listed on this website put trips like this together for a living and know which camps, guides and routes actually deliver. We are an independent guide to Kilimanjaro; we do not book or sell tours ourselves.
When you are ready, arrange your safari, tour or holiday with one of the recognised operators listed here. Tell them your dates and what matters most, and a real person, not a form, will handle the itinerary, park bookings and logistics for you.